

The more choice, the harder it is to choose
When it comes to microphones, the market is huge. USB, XLR, dynamic, condenser – and everyone online seems to recommend something different. Many creators simply buy what their favorite streamer uses and then wonder why it does not sound the same in their own setup.
The truth is simple:
The best microphone is not the most expensive one. It is the one that fits your room, your setup and your type of content.
Before investing money, you need to understand the basics.
USB vs XLR – What Is the Real Difference?
USB microphones are the simplest solution. You plug them directly into your PC and they immediately show up in OBS, Streamlabs or any recording software. No additional hardware, no complex wiring, no external power supply. For beginners and single-PC setups, this is a very comfortable way to start.
XLR microphones work differently. Your signal does not go directly into the computer. Instead, your voice travels from the microphone through an XLR cable into an audio interface. Inside the interface, the signal gets amplified and then sent via USB to your PC. This makes the setup slightly more complex, but also more flexible and professional in the long term.
The major advantage of XLR is modularity. You can upgrade your interface, change cables or swap microphones without rebuilding your entire setup. The downside is the higher entry cost and the fact that mistakes in the signal chain can cause issues if the system is not set up properly.
For many creators, a good USB microphone is more than enough. However, if you plan to expand your setup or want long-term flexibility, XLR is worth considering.
.

Dynamic or Condenser – Which Type Fits You?
Besides the connection type, the microphone design itself plays a major role.
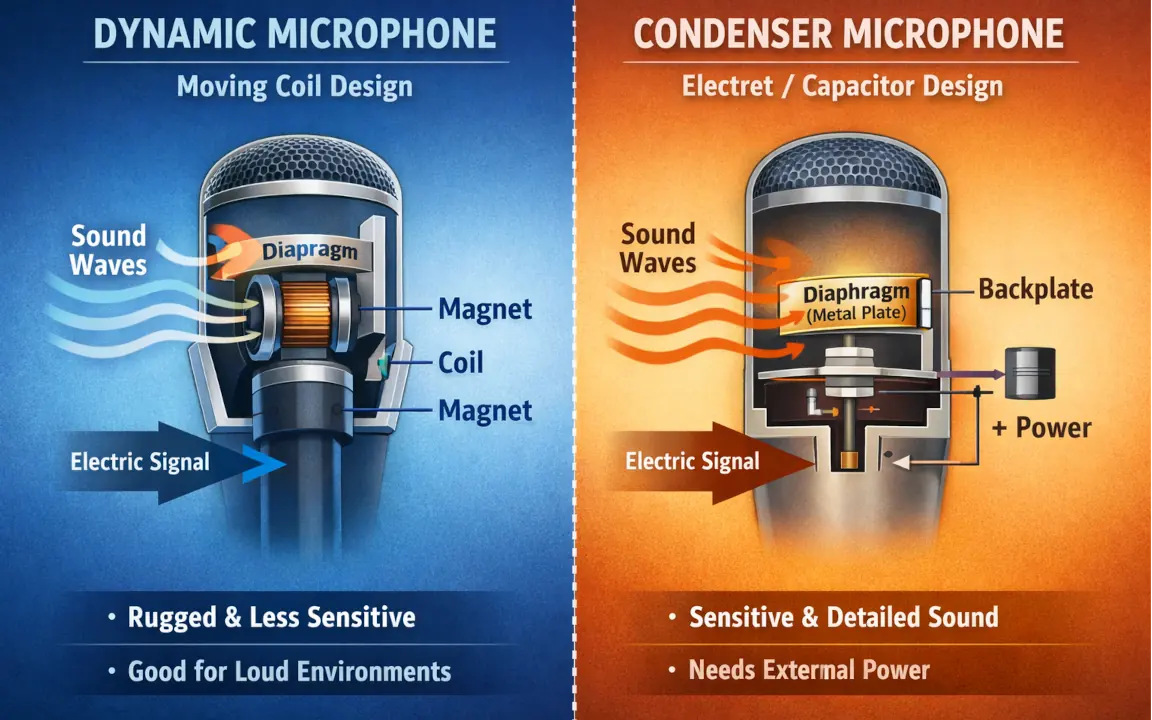
Dynamic microphones are less sensitive and focus more directly on your voice. They naturally reject more background noise and room reflections. This makes them ideal for gaming setups, untreated rooms or environments where background noise cannot be fully controlled. If your room has echo or your PC fans are audible, a dynamic microphone is often the safer choice.
Condenser microphones are more sensitive and capture more detail. They deliver a bright and open sound, but they also pick up more of your room. In an untreated space, this can quickly result in echo and reverb. In a properly treated environment, however, they can sound extremely clear and professional.
The decision here is not about price – it is about your environment.
Recommended USB Microphones
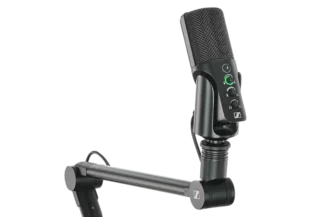
In the USB category, solid options include the Elgato Wave 3, the Rode NT-USB+ and the Blue Yeti X. These microphones are easy to set up and deliver reliable results for streaming and content creation.
The right choice depends on your budget and how serious you are about building your setup long term. For many single-PC creators, these models are perfectly sufficient.

Recommended XLR Microphones
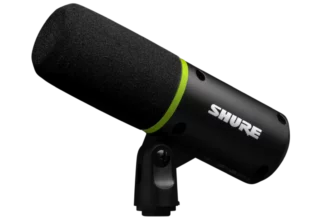
In the XLR category, classics such as the Shure SM7B, the Rode PodMic and the Audio-Technica AT2020 are strong and proven options.
However, it is important to understand that the microphone alone does not define your sound quality. Signal chain, room acoustics and positioning often have an even bigger impact than the microphone itself.
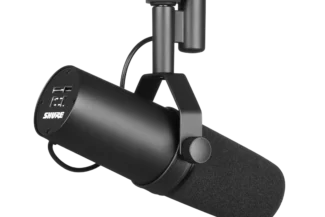
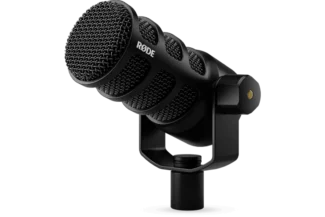
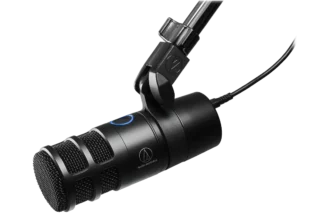
You see, there are plenty of options, there might even be more, however those are my favorites!
If you have questions make sure to reach out for free, so we can find the right interface for you or make an appointment to set it up!
Choosing the Right Audio Interface
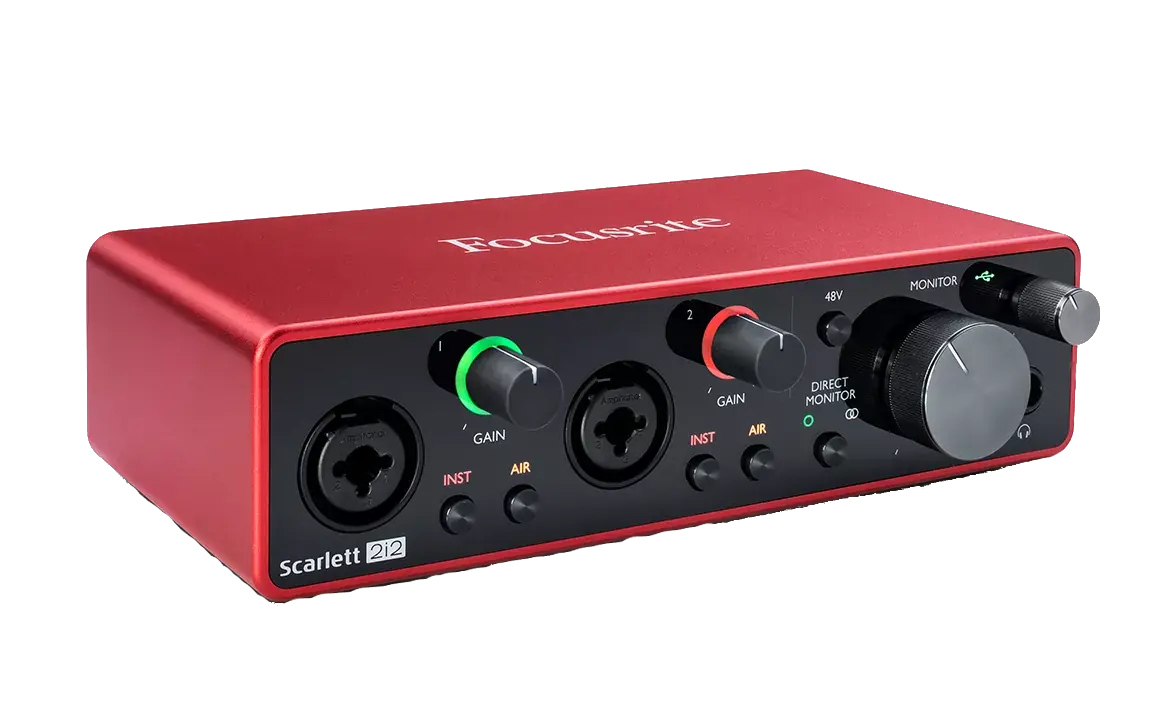
If you decide to go with XLR, you will need an audio interface with clean preamps, a stable USB connection and phantom power if you are using a condenser microphone.
Beginner-friendly interfaces such as the Focusrite Scarlett 2i2 or the Elgato Wave XLR offer a solid foundation for most creators. The interface amplifies your very weak microphone signal to a usable level. Poor-quality interfaces can introduce noise, low output levels or signal instability.
Your interface is not just an accessory – it is the heart of your signal chain.
Learn more in my Audio-Interface-Guide.
Signal Flow and Common Problems
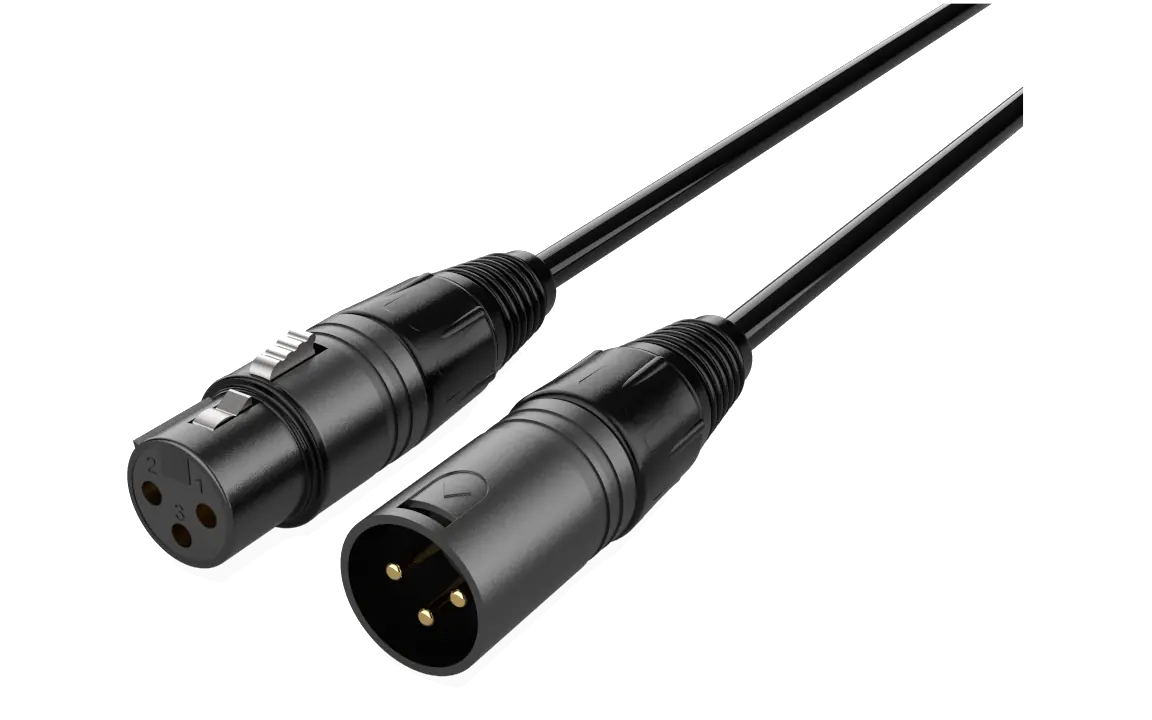
An analog setup is only as strong as its weakest link. The signal path is always the same: your voice enters the microphone, travels through the XLR cable into the interface, then into your PC and finally into your recording or streaming software.
Many creators blame their microphone for bad sound, but the real issue often lies somewhere else. Crosstalk or overspeaking can result from poor positioning or excessive room interaction. Inconsistent speaking angle can cause noticeable volume fluctuations. A constant low-frequency hum may indicate a ground loop, which happens when multiple grounded devices create electrical interference. Electromagnetic interference can be caused by cheap cables, poorly shielded power supplies or nearby devices such as routers and smartphones.
These issues become even more common in multi-PC or PC-console setups, where multiple devices are connected at the same time. Clean cable management and a well-planned setup are essential to avoid problems.
Microphone Positioning – The Biggest Quality Factor
Positioning alone can dramatically change your sound. The ideal distance is usually between five and fifteen centimeters. Speaking slightly off-axis instead of directly into the capsule helps reduce harsh plosive sounds. Most importantly, you need consistency. If you constantly lean back, turn your head or move away from the microphone, your sound will change every few seconds.
Even a high-end microphone can sound poor if it is positioned incorrectly.
Mounting and Isolation
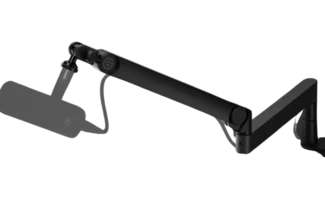
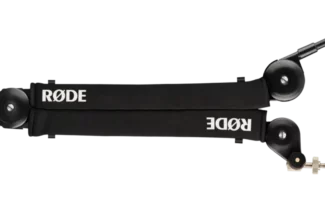
Placing a microphone directly on your desk is one of the most common mistakes. Mechanical keyboards, mouse movements and even small desk vibrations can transfer into the microphone. Using a boom arm and ideally a shock mount significantly reduces these mechanical noises.
This is not a luxury upgrade – it is part of a proper setup.
Room Acoustics – The Hidden Factor
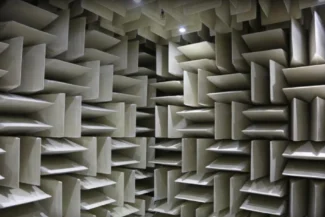
Your room is part of your sound. Hard, empty walls reflect audio waves and create echo. Simple improvements like carpets, curtains or bookshelves can already reduce unwanted reflections. Acoustic foam alone is not a magic solution, especially if it is placed incorrectly.
Often, improving your room has a bigger impact than upgrading your microphone.
Background Noise in Real Life
PC fans, street noise, open windows or other people in the household are part of everyday life. While you cannot eliminate everything, microphone choice, positioning and room selection can significantly reduce these issues.
Many sound problems can be minimized without spending more money – simply by optimizing your setup.
Marketing vs Reality
Just because a large streamer uses a specific microphone does not mean it is the right one for you. Many influencers use heavy post-processing to shape their final sound. Hardware alone does not create professional audio.
Understanding your setup does.
What This Article Does Not Cover
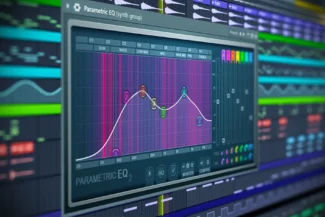
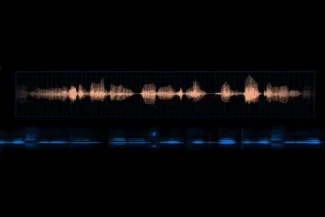
Topics like gain staging, equalization, compression and professional fine-tuning are crucial for achieving truly polished audio. However, they go beyond basic microphone selection and belong to a structured setup process.
This is where “decent” sound becomes “professional” sound.
I do offer a professional microphone-setup in one of my services. Make sure the check it out!
Final Thoughts
The right microphone depends on your room, your setup and your long-term goals. USB can be perfectly sufficient. XLR offers flexibility and expandability. Dynamic microphones are often the safer choice in untreated rooms, while condenser microphones shine in controlled environments.
If you are unsure which option fits your situation or if your current setup is causing issues, feel free to reach out. Together we can find the right solution for your environment and make sure your audio works reliably – not just in theory, but in practice.
Let me know, if you need help setting everything up! Reach out for free!